Font Awesome Wordpress Plugin - Rating, Reviews, Demo & Download


Plugin Description
The official way to use Font Awesome Free or Pro icons on your WordPress site, brought to you by the Font Awesome team.
Features
Our official plugin makes it easy to add Font Awesome icons to your pages, posts, and templates and includes the following features:
- Use Pro or Free icons, from the latest release or a specific release.
- Use custom icons from your Pro Kits.
- Use a Font Awesome Kit to add any of our icons (including the latest Duotone styles and custom icons!), or select the Font Awesome CDN for Version 5 icons only.
- Turn on automatic compatibility for Font Awesome Version 4 if you – or your plugins – are still using Version 4 syntax.
- Troubleshoot and resolve issues when multiple versions of Font Awesome are loading on your site from other plugins/themes, which can cause unexpected icon display or technical issues.
How to Use
Install And Enable The Plugin
(See the Installation tab for details)
How to Add and Style Icons
Full docs on how to use the plugin and add icons are available on the Font Awesome Docs site.
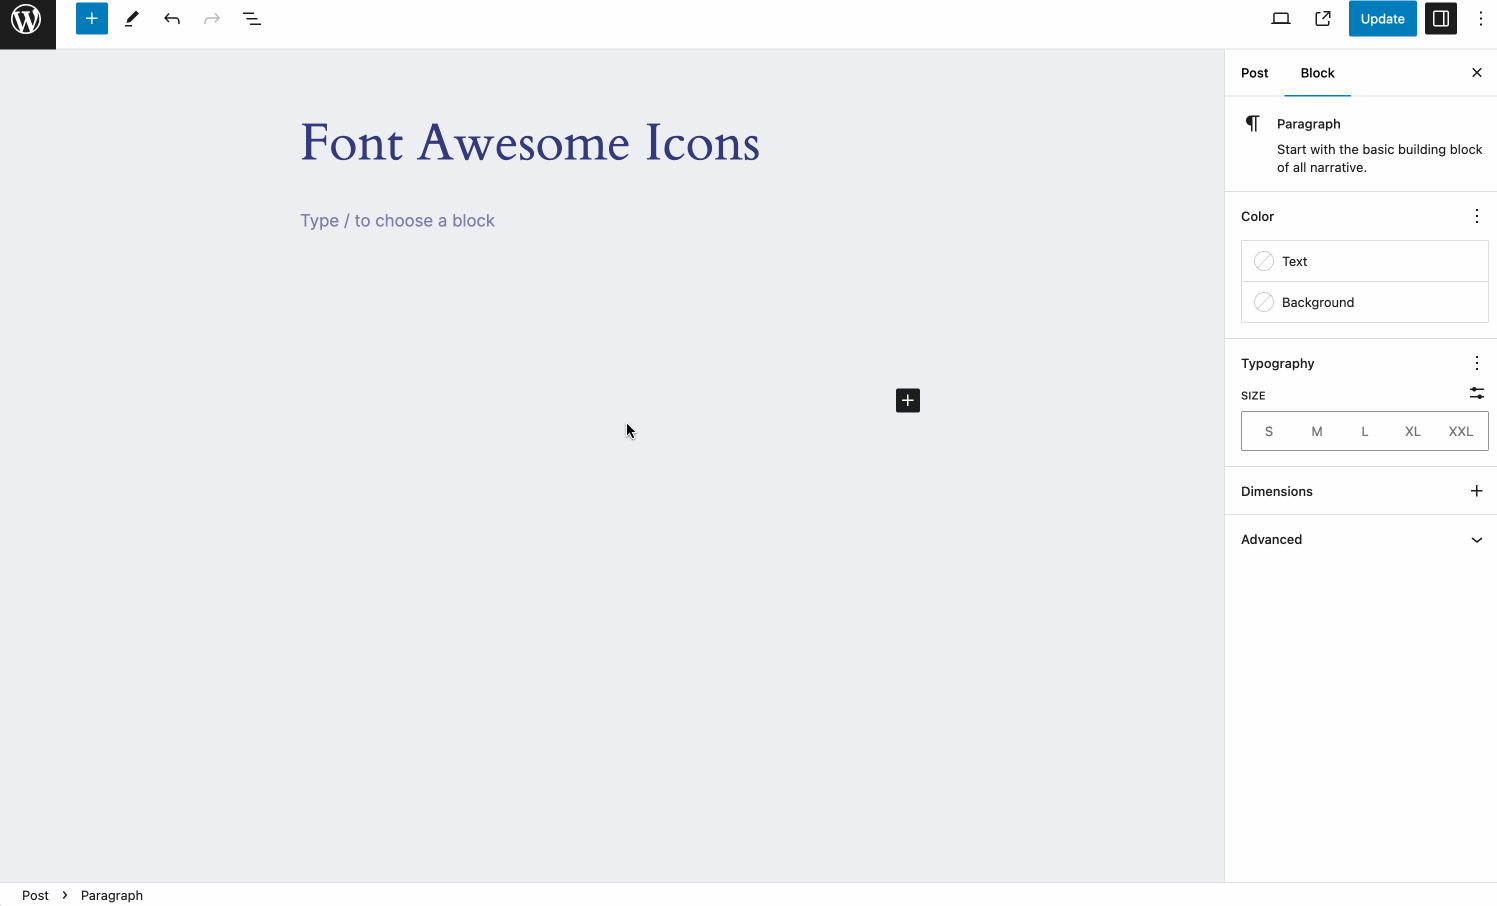
Add Icons in the Block Editor
Once you’ve set up your plugin, you can add icons as blocks or inline with text.
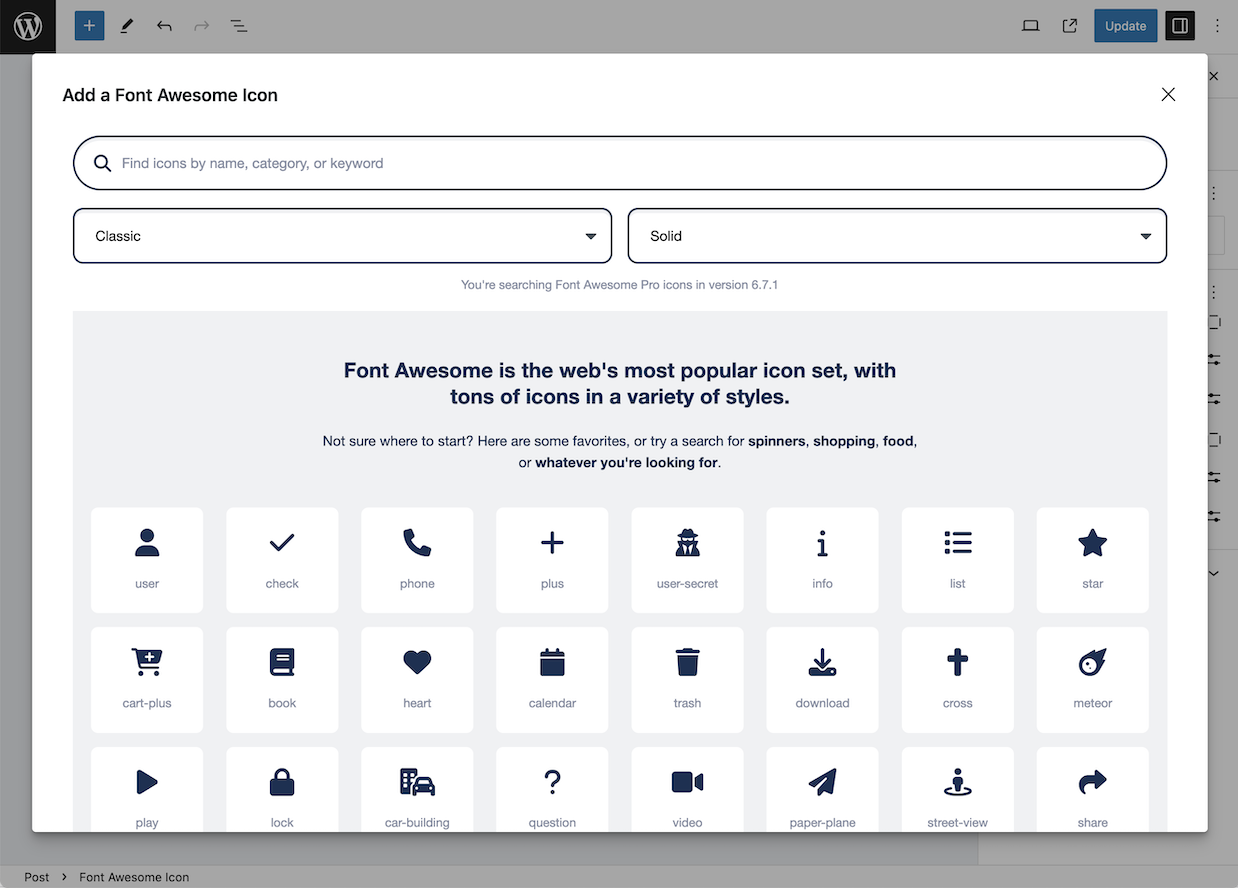
To add icons as blocks, select the “Font Awesome Icon” block, and then click the “Choose Icon button” to open the Icon Chooser.
To add icons inline, select the Font Awesome option in the format toolbar to open the Icon Chooser. (Note: Inline icons require at least WP 6.3.)
Once you open the Icon Chooser, add icons by:
- Searching for the icon you want – you can search by icon name, category, or keyword.
- Changing the Family and Style using the drop downs if you want an icon in a different style.
- When you see the icon you want, clicking it to enter it into the content of your page or post.
Note: If you want to search and add Pro icons in the Icon Chooser, make sure you set your plugin to use a Pro Kit.
Add Icons in The Classic Editor
If you need to add icons in the classic editor, you can use the icon names in shortcodes or HTML. Add an icon using shortcodes to any text area – just add the name of the icon and a style prefix, where the prefix is the style of icon you want to use. Note that you don’t need to include the fa- part of the icon name. And if you don’t include any style prefix, the icon will default to the Classic Solid style.
The shortcode for an icon looks like this:
[icon name="stroopwafel"]

[icon name="stroopwafel" prefix="fa-sharp fa-light"]
You can also use basic HTML with standard Font Awesome syntax, like this:
<i class="fa-solid fa-stroopwafel"></i>
Using Pro Icons and Features
To use a Kit to power your icons, create a Kit on FontAwesome.com and select “Pro icons” in the Kit Settings tab. Then grab your API Token from your Font Awesome Account page and add it to your WordPress plugin settings.
To use the CDN to power your icons, know that you will only be able to use icons from Version 5. To enable Pro icons, add your site’s domain to the list allowed domains on your Font Awesome CDN Settings page and then use shortcodes or HTML to add the icons into your content.
Troubleshooting with the Plugin
Font Awesome icons are popular, so lots of themes and plugins also load Font Awesome, and sometimes their version can conflict with yours. So we created a way to help you find and prevent those conflicting versions from affecting your icons: The Conflict Detection Scanner.
If the plugin seems to be set up correctly and your icons still aren’t loading and you’re not sure why, head over to the Troubleshoot tab, which has two parts:
- Detect Conflicts with Other Versions of Font Awesome – which lets you start the conflict detection scanner to find versions of Font Awesome loading on your site.
- Versions of Font Awesome Active on Your Site – which shows the results of the scanner and lets you prevent any conflicting versions from loading other versions of Font Awesome on your site.
Get more information about using the scanner for troubleshooting on the Font Awesome WordPress docs.
Configuring
The plugin is set to serve Font Awesome Free icons as a Web Font via the Font Awesome CDN by default. You can change the CDN settings right in the plugin. If you want just the basic Free icons, you probably don’t need to make any changes to the default configuration.
You can get more information about all the available settings and troubleshooting on the Font Awesome WordPress docs.
Upgrading from Plugin Version 4
[icon]shortcodes found in Block Editor content and elsewehre will continue to work as before,
though new icons added with the Icon Chooser in the Block Editor will be inline SVGs.
Previously added[icon]shortcodes will not be automatically be converted into the new inline SVG
format. If you want to convert an[icon]shortcode, delete it and re-add the icon using the Icon Chooser in the Block Editor.
See Also
The README on GitHub has details for WordPress site owners and developers.
You can get more information about all the available settings and troubleshooting on the Font Awesome WordPress docs.
And there are API docs for developers.
Screenshots
Add icons as blocks

Add icons inline with text
Search and add icons from Font Awesome Free or Pro (with subscription)
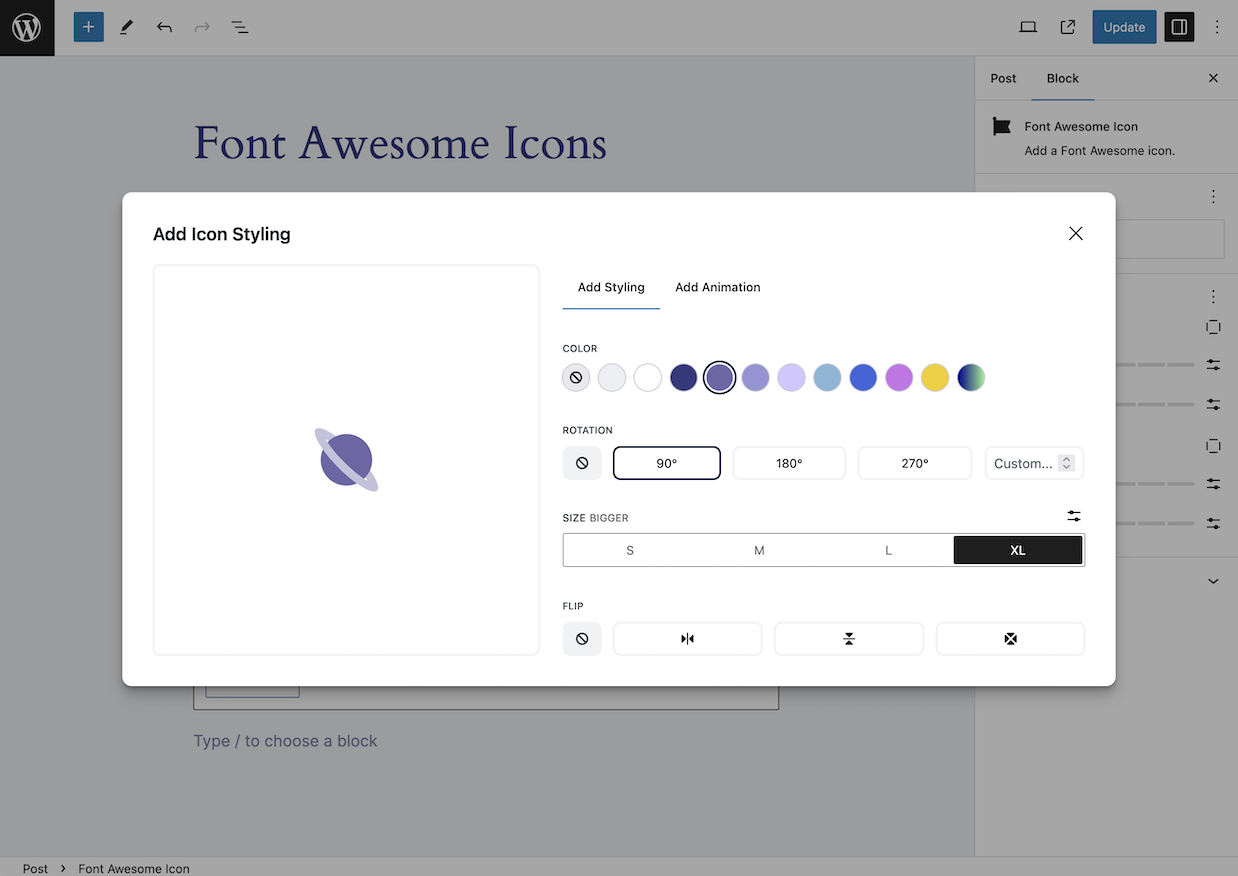
Style icons (size, color, rotate, flip)
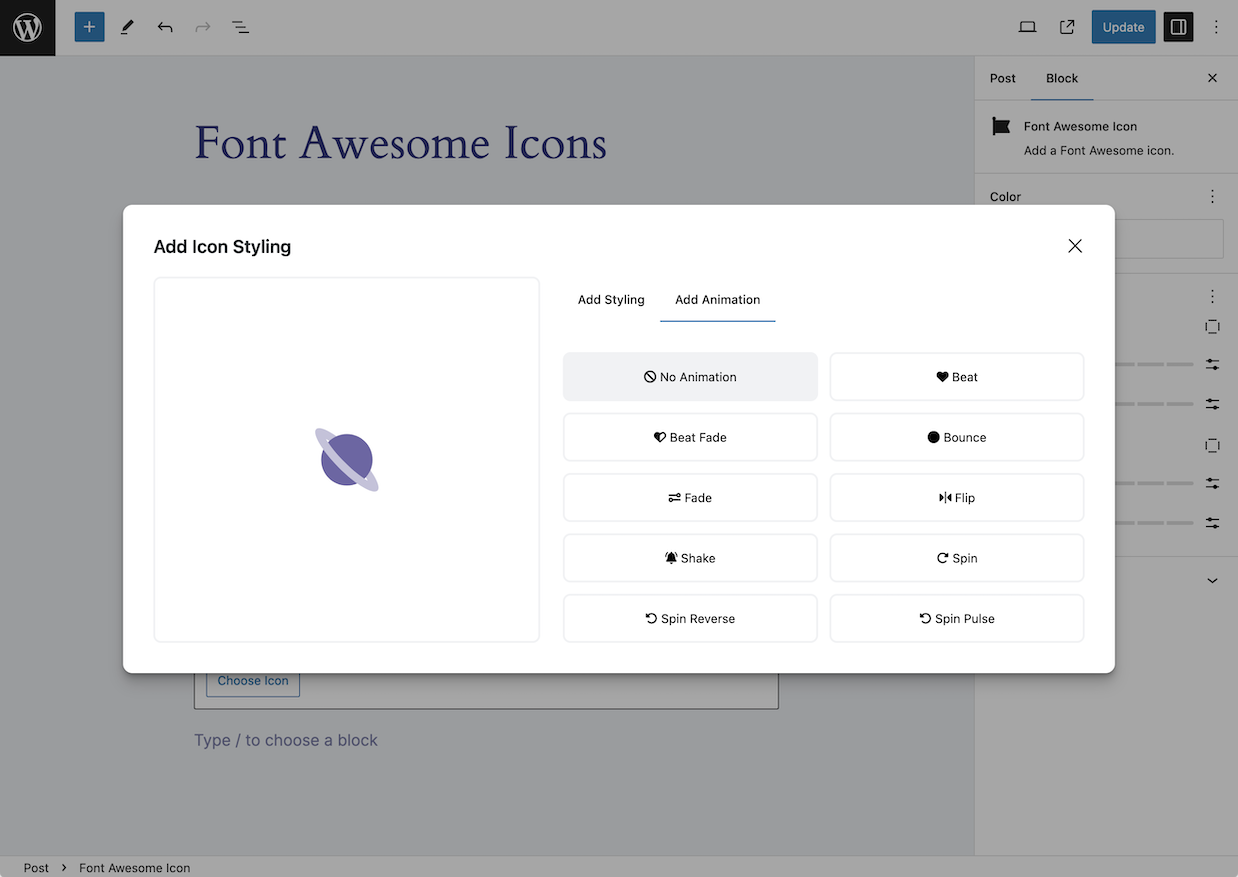
Animate your icons
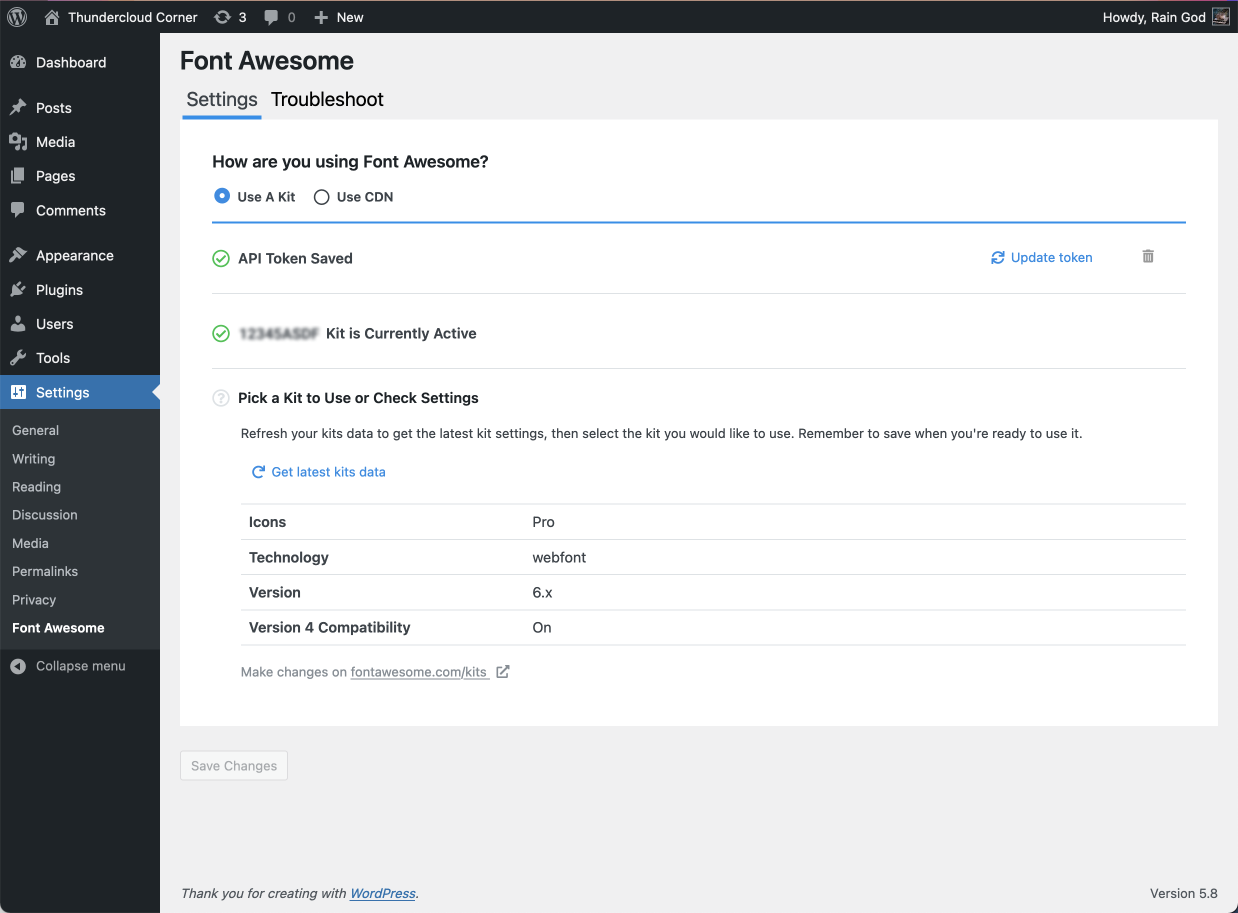
Use a Font Awesome Kit to power your site’s icons
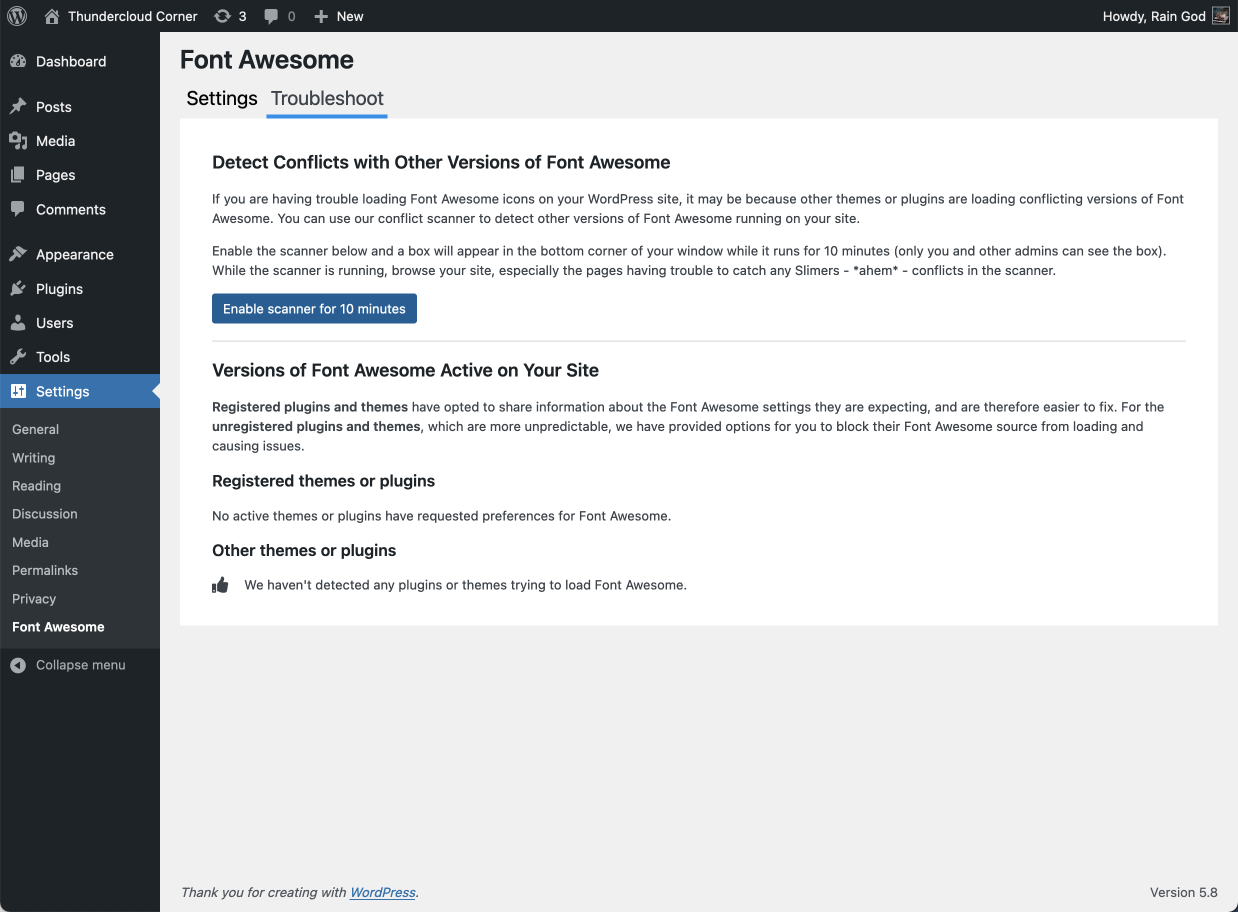
Detect and fix issues with conflicting versions of Font Awesome running on your site