WP REST Cache Wordpress Plugin - Rating, Reviews, Demo & Download

Plugin Description
Are you facing speed issues, using the WordPress REST API? This plugin will allow WordPress to cache the responses of the REST API, making it much faster.
This plugin offers:
- Caching of all default WordPress REST API
GET-endpoints. - Caching of (custom) post type endpoints.
- Caching of (custom) taxonomy endpoints.
- Automated flushing of caches if (some of) its contents are edited.
- Manual flushing of all caches.
- Manual flushing of specific caches.
- A counter how many times a cache has been retrieved.
- Specifying after what time the cache should be timed out.
- Registering custom endpoints for caching.
- Automatic cache regeneration.
Installation from within WordPress
- Visit ‘Plugins > Add New’ (or ‘My Sites > Network Admin > Plugins > Add New’ if you are on a multisite installation).
- Search for ‘WP REST Cache’.
- Activate the WP REST Cache plugin through the ‘Plugins’ menu in WordPress.
- Go to “after activation” below.
Installation manually
- Upload the
wp-rest-cachefolder to the/wp-content/plugins/directory. - Activate the WP REST Cache plugin through the ‘Plugins’ menu in WordPress.
- Go to “after activation” below.
After activation
- Visit ‘Plugins > Must-Use’ (or ‘My Sites > Network Admin > Plugins > Must-Use’ if you are on a multisite installation).
- Check if the ‘WP REST Cache – Must-Use Plugin’ is there, if not copy the file
wp-rest-cache.phpfrom the/sourcesfolder of the WP REST Cache Plugin to the folder/wp-content/mu-plugins/.
Optionally:
The default timeout for caches generated by the WP REST Cache plugin is set to 1 year. If you want to change this:
- Visit ‘Settings > WP REST Cache’.
- Change the Cache timeout.
Screenshots
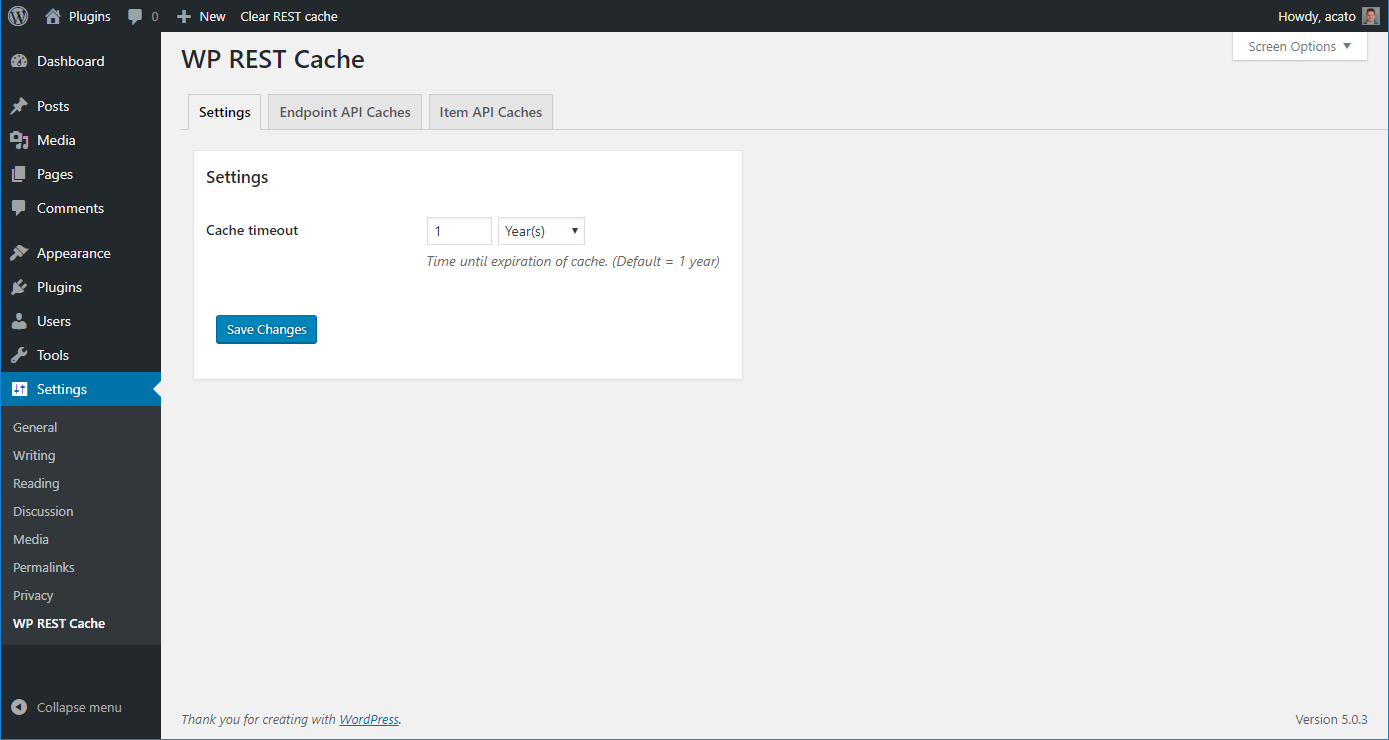
Settings for the WP REST Cache plugin.
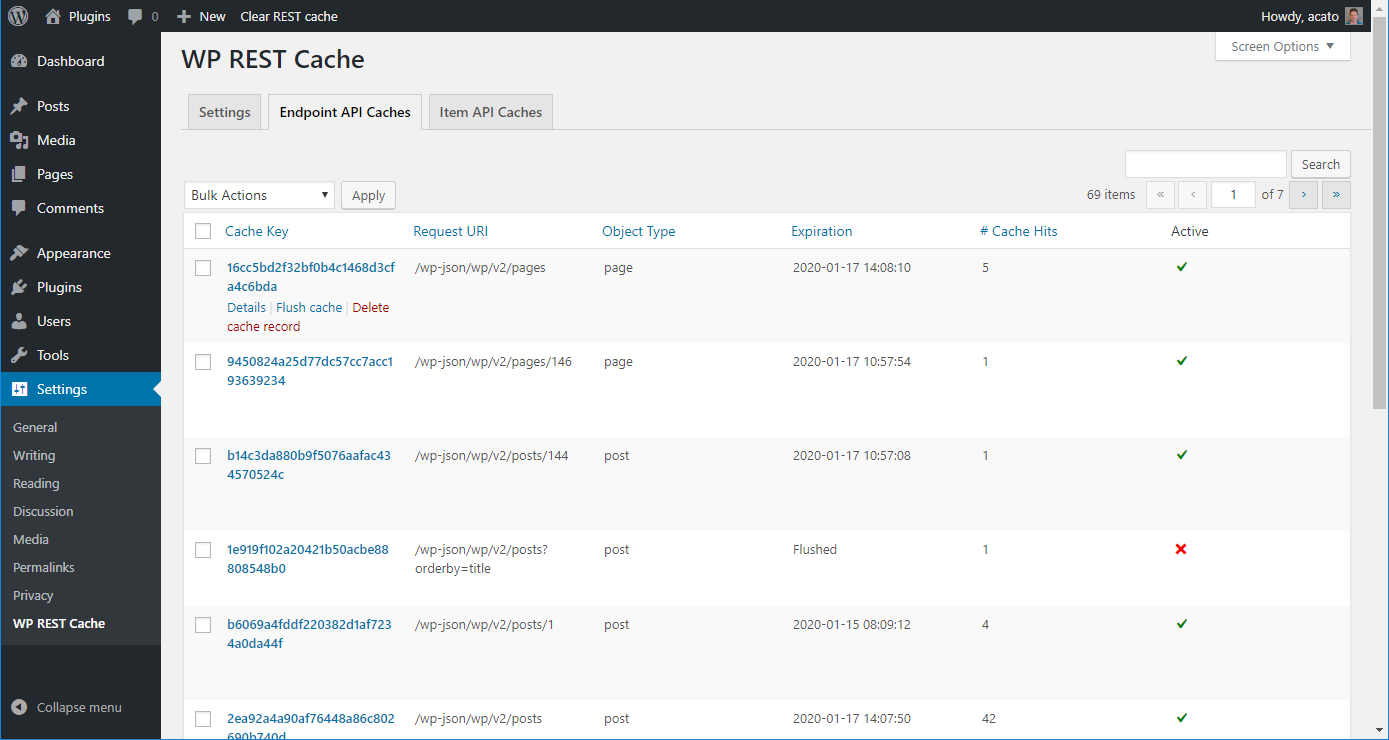
An overview of cached endpoint calls.
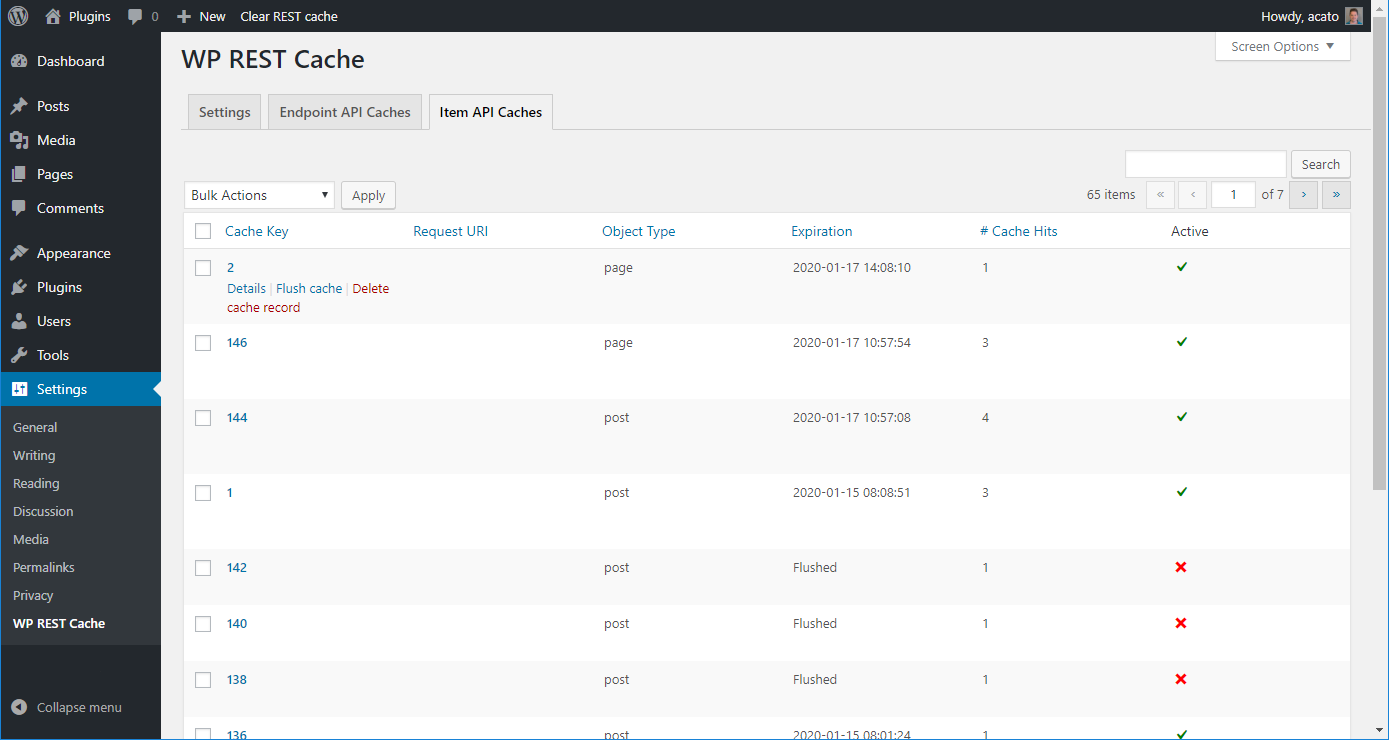
An overview of cached single items.
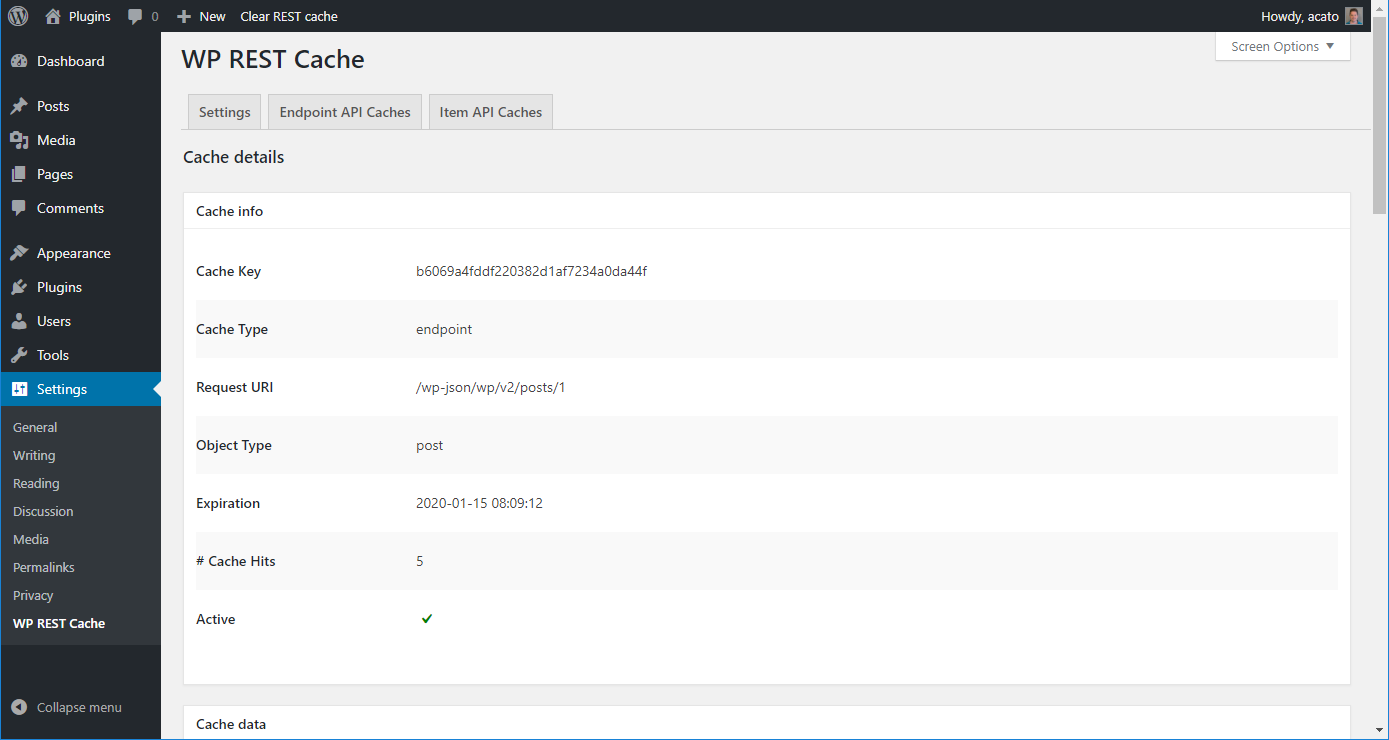
Cache details page – Cache info.
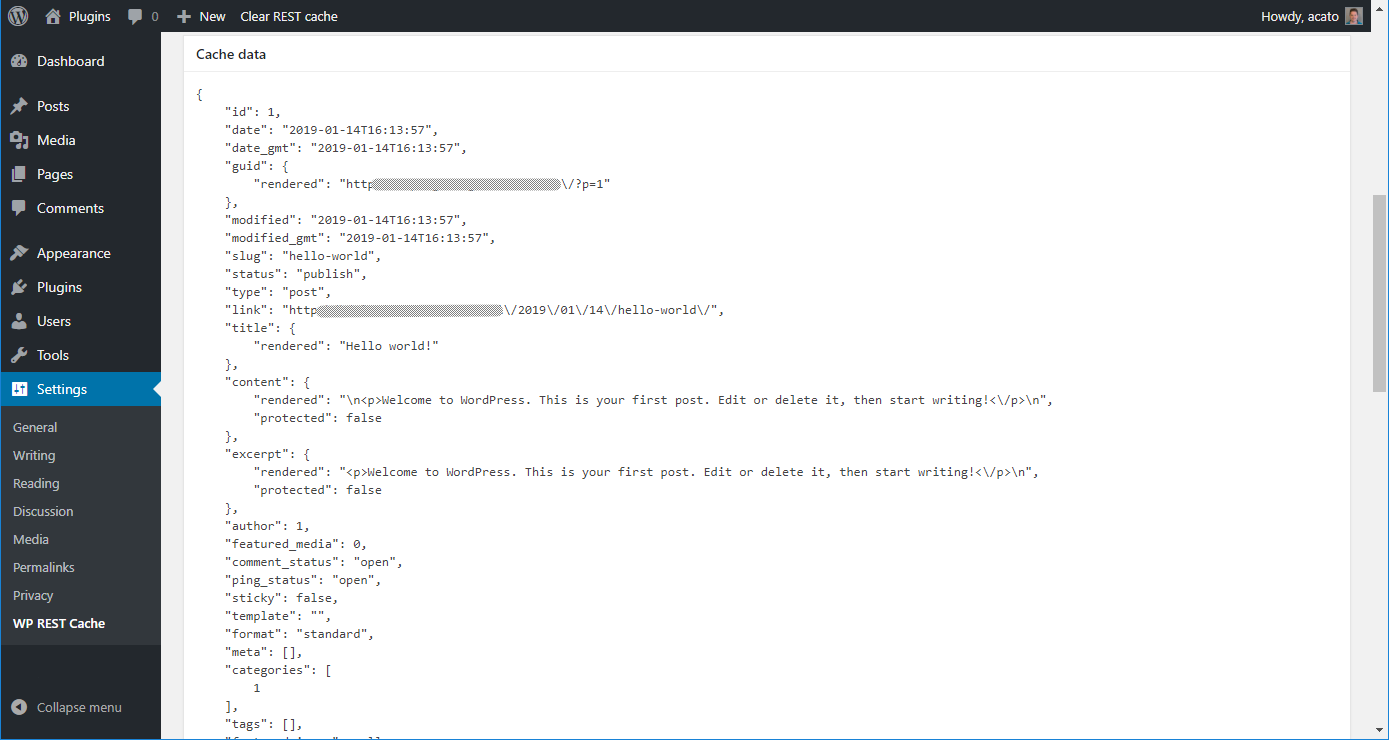
Cache details page – Cache data.


