NFT Maker Wordpress Plugin - Rating, Reviews, Demo & Download

Plugin Description
If you want to sell NFTs but don’t want to build an entire NFT marketplace from scratch, then NFT Maker is the plugin you’ve been waiting for. Lazy Minting. WordPress integration. Free IPFS Storage, forever.
NFT Maker supports the following blockchains:
Ethereum
Polygon
Binance Smart Chain
Celo
Harmony
NFT Maker allows you to turn your Woocommerce store into an NFT store with a simple plugin. Just install, follow your usual WordPress product publishing flow, and tick which blockchain you’d like to mint your NFTs on. It’s so easy, you’ll be up and running in no time!
Lazy Minting
Put simply, lazy minting is when an NFT is available off the blockchain and only gets minted when someone buys it. This means that you, the seller, don’t have to pay any upfront gas fees to mint your NFTs. Gas fees are only paid once the NFT is purchased and then minted on the blockchain.
Free IPFS Storage, forever.
With native IPFS integration, you can store your images, videos, audio files, or whatever other metadata you’d like to include in your NFT at no cost whatsoever. Like the NFTs themselves, files stored on IPFS cannot be tampered with or changed, so your NFT will always be connected to their original metadata, forever.
NFT Maker Tutorial
Check out our full video tutorial on how to get started..
Here’s it works:
1. Install the plugin.
2. Sign up for a Tatum API key. The Tatum is an external service which provides access for the blockchain infrastructure. The credits from your plan are used to pay for the gas fees to mint NFTs. You can try NFT Maker with Test API keys for free, but NFT minted with Test API keys will not have any value, because they are minted on Testnet network.
3. Create your NFT by uploading an image. This won’t consume any credits until someone buys it.
4. When someone buys your NFT, the metadata is uploaded to IPFS, and the NFT is minted to the blockchain address provided by the customer at checkout.
5. Credits to pay the gas fees for minting are deducted from your Tatum plan.
IMPORTANT NOTICE
NFT Maker works with the both free and paid Tatum plans. You can try NFT Maker with Test API keys for free, but NFTs minted with Test API keys will not have any value, because they are minted on Testnet network.
The paid Tatum API key plan works with blockchain Mainnet networks, and it pays for the gas fees to mint your NFTs from your Tatum API key plan.
Please note, you can cancel your plan at any time, but Tatum DOES NOT offer refunds for received payments.
Due to high ETH fees, minting NFTs with ETH is available only with enterprise API keys.
If you want to know which smart contracts are used for minting NFTs you can find them inside the admin section of the NFT Maker plugin in the help section.
You are welcome to add your pull request to our Github repository. If you have any questions just drop us a line on the Tatum Discord.
Or feel free to contact developer via Telegram.
Screenshots

Create an account in the Tatum Dashboard and obtain paid API key. The Tatum is an external service which provides access for the blockchain infrastructure.

Install Woocommerce plugin if you don’t have already installed it yet.

Submit your API key.

You are ready to mint NFT tokens! In the overview, you can see info about your API key.

Create Woocommerce product. Don’t forget to select chain on which NFT will be minted.

Don’t forget to set an NFT image. Only images up to 50 MB are available for storing. If you don’t set an image your NFT will not be minted!

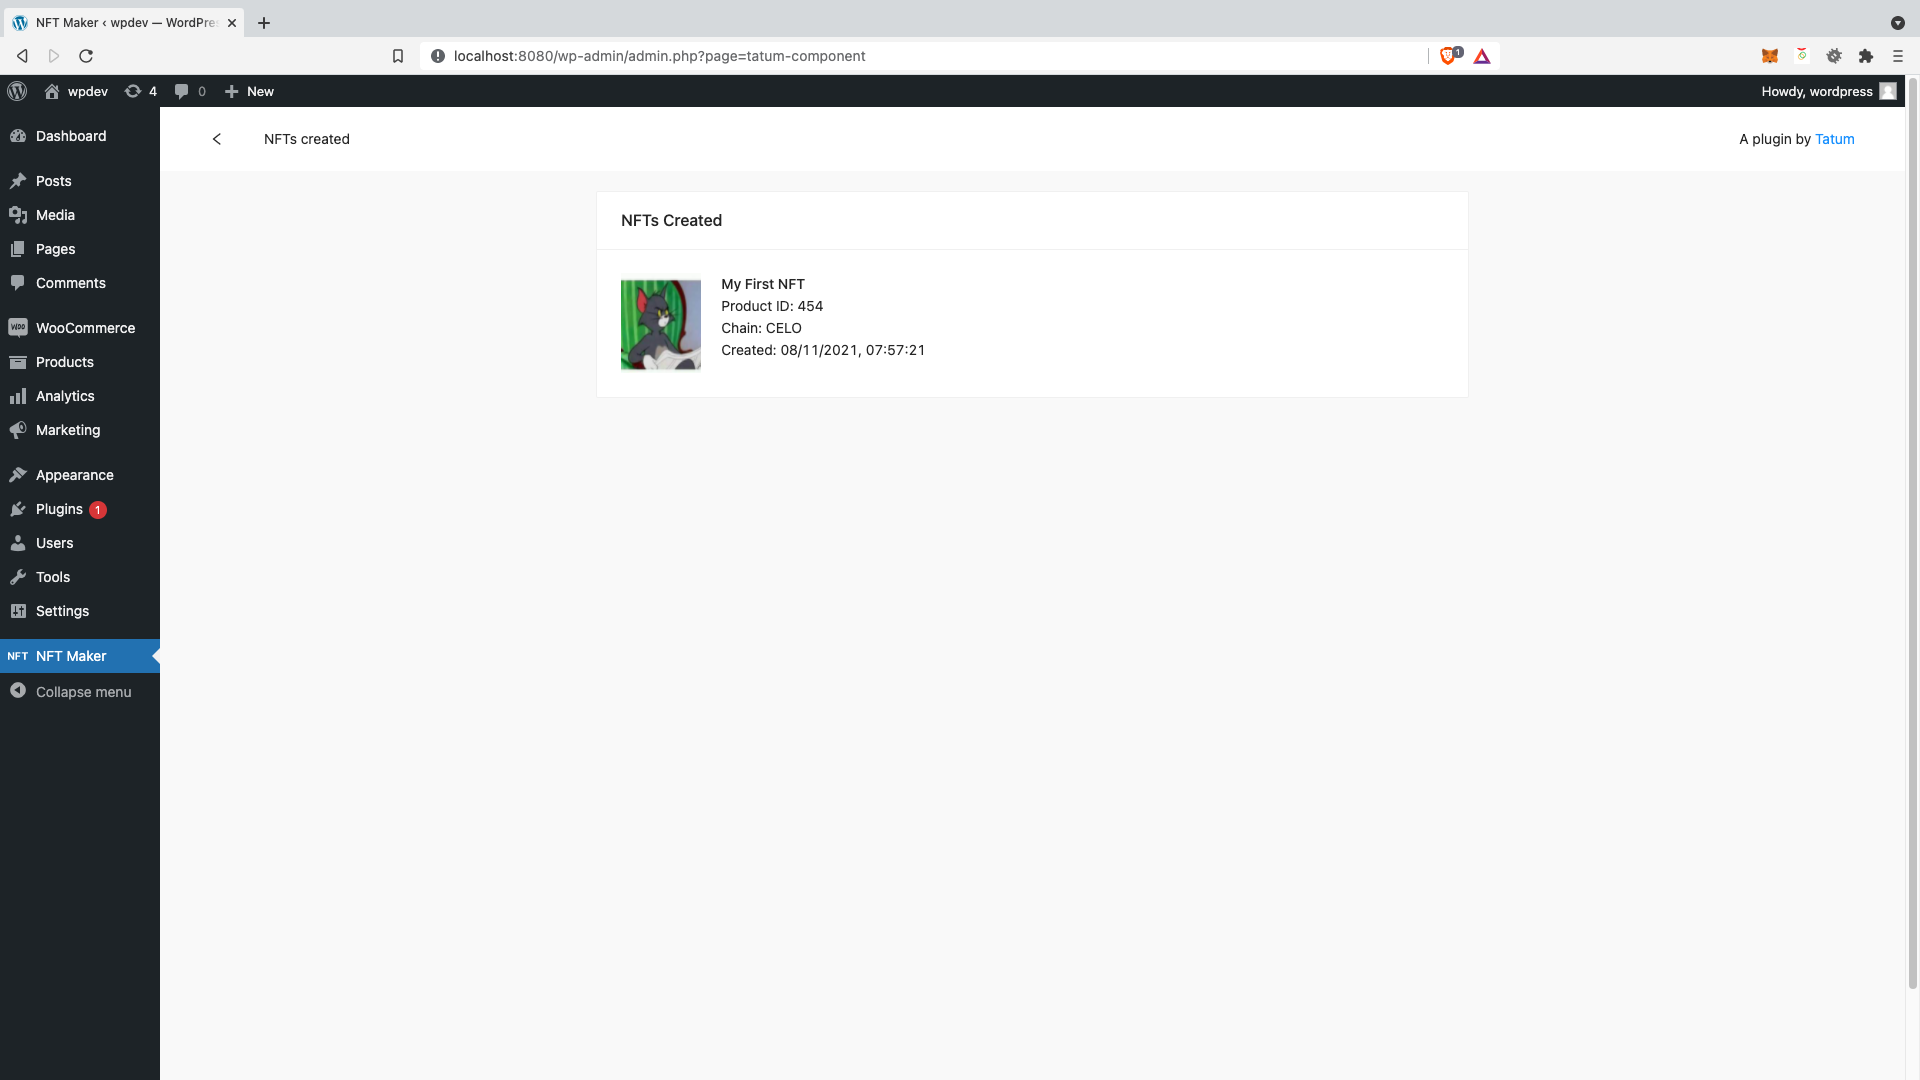
After you create product can see it in the list of lazy minted NFTs.

If your customer adds product to the cart and proceed to checkout, he/she will need to submit blockchain address to which will be NFT minted.

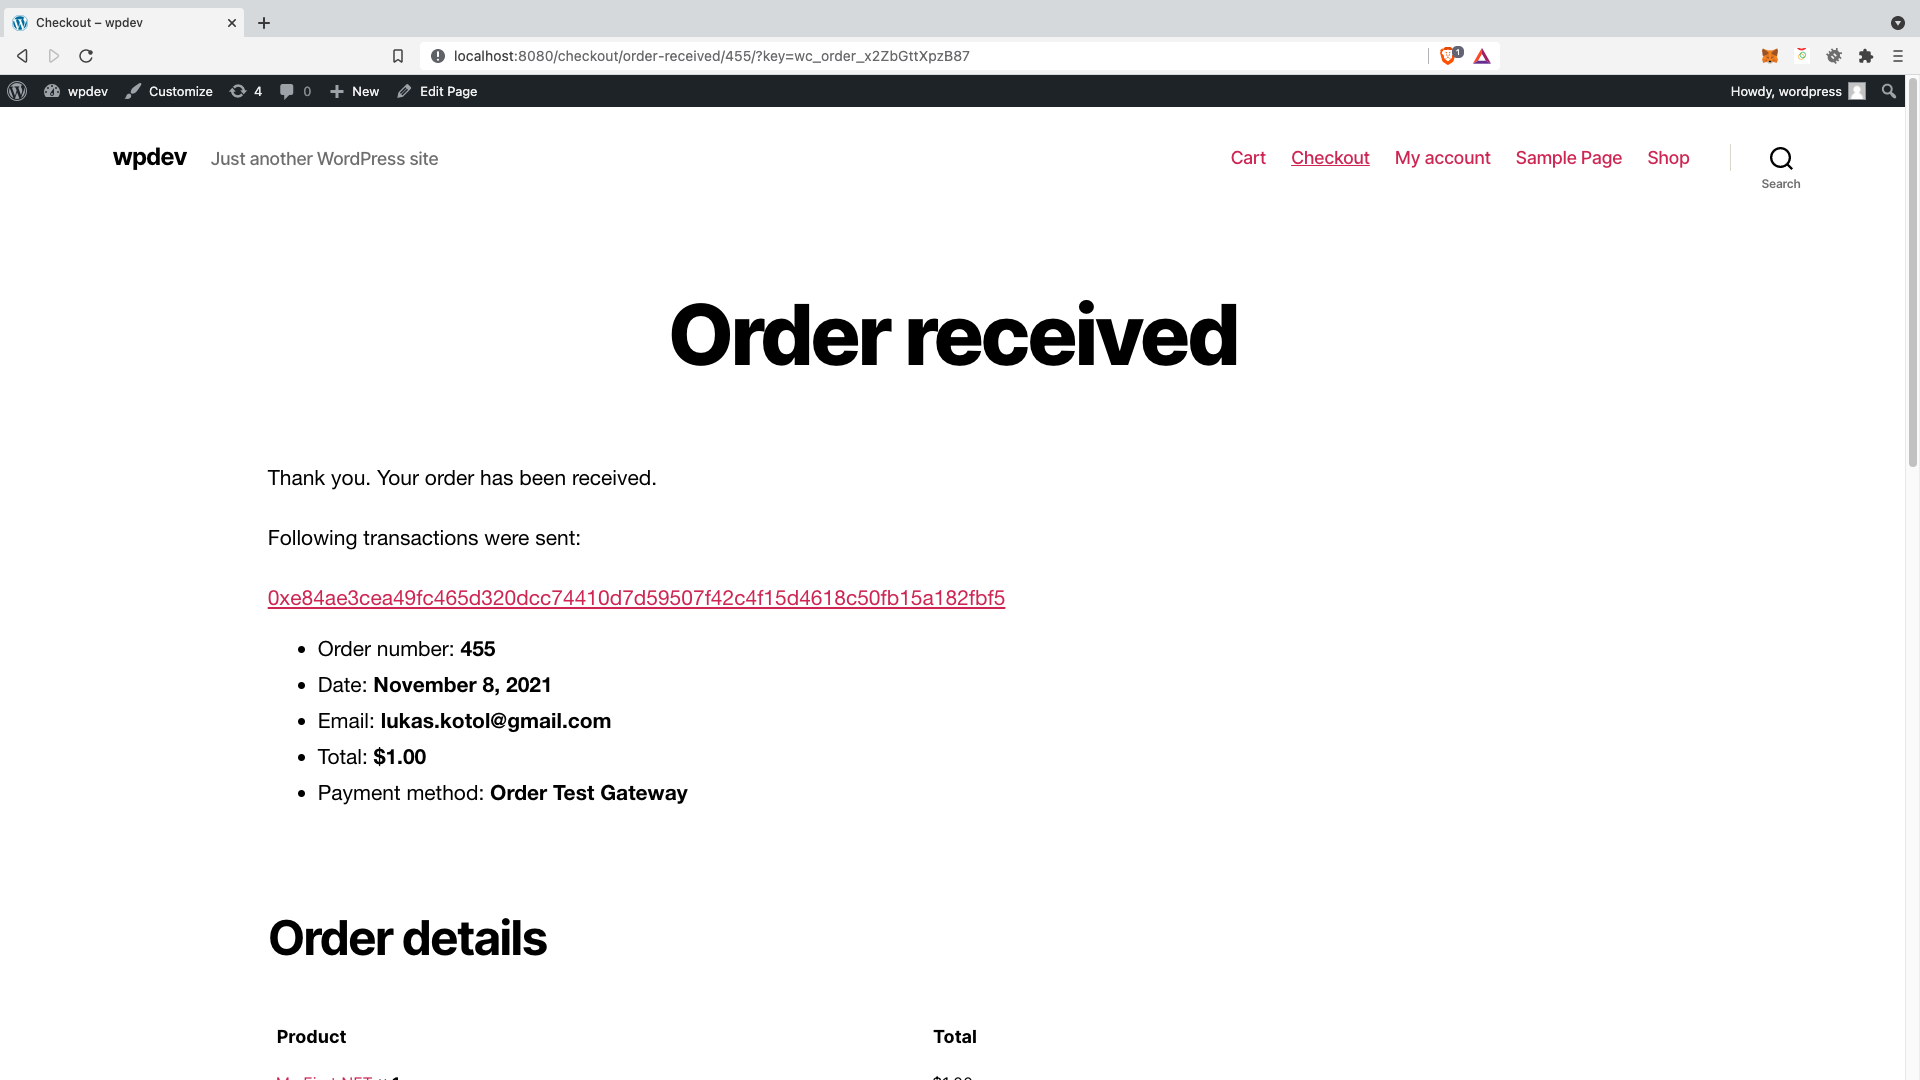
After successful purchase of the NFT customer will see the blockchain transaction.

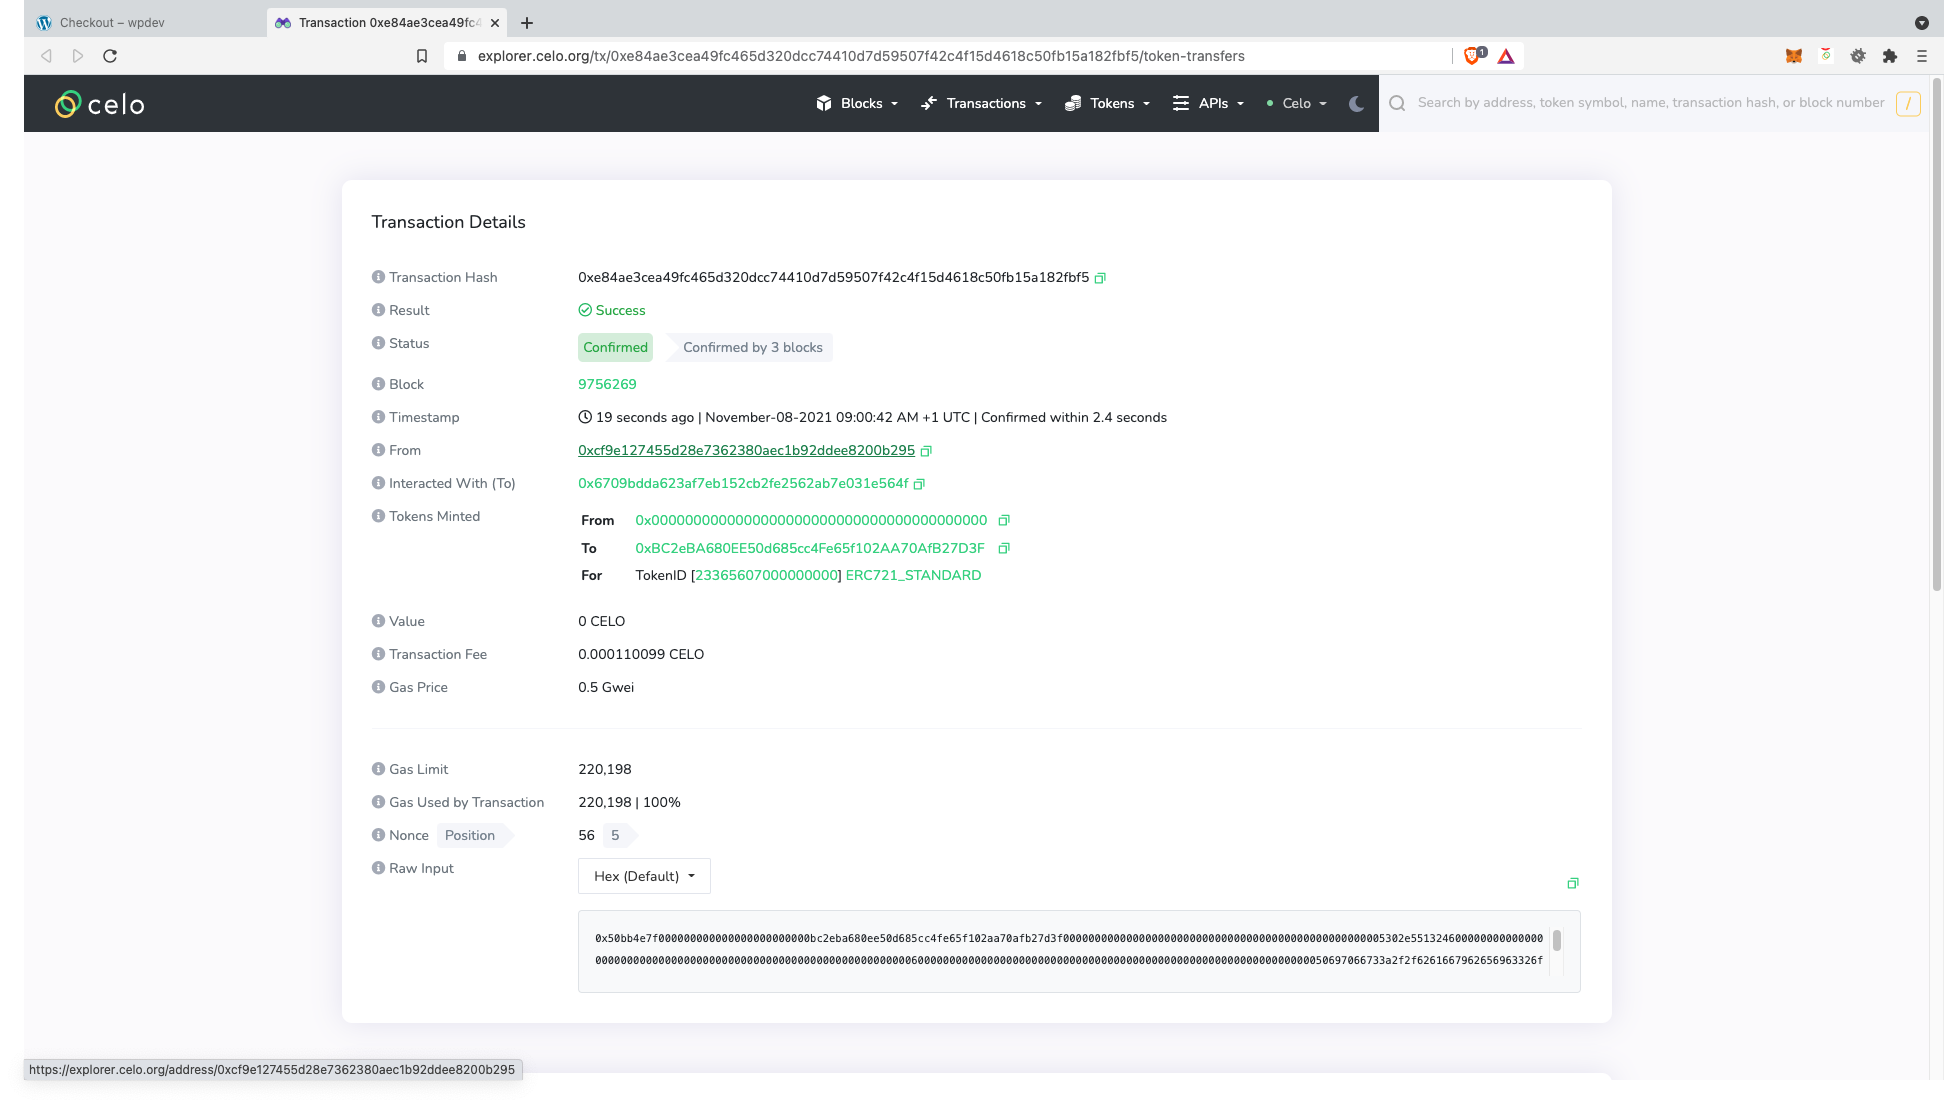
Blockchain transaction links can redirect customer to the blockchain explorer to see NFT mint transaction details.

Admin can also see all sold and minted NFT.


